Easy Chia Seed Pudding Recipe – Creamy & Delicious
Chia seed pudding recipe, a creamy, dreamy, and delightfully nutritious treat, has captured hearts and taste buds worldwide. If you’re searching for a breakfast that’s both incredibly satisfying and effortlessly healthy, look no further. This beloved dish is cherished for its simplicity, its versatility, and the sheer joy it brings to a morning routine. What truly makes chia seed pudding so special is its magical transformation. Those tiny, unassuming chia seeds, when soaked in liquid, swell and develop a gelatinous texture, creating a pudding-like consistency without any dairy or cooking required. It’s a testament to nature’s ingenuity and a fantastic way to incorporate beneficial omega-3 fatty acids, fiber, and antioxidants into your diet. Get ready to discover just how easy and delicious this fantastic chia seed pudding recipe can be!
Chia Seed Pudding Recipe
Welcome to a delightful and incredibly easy recipe that’s become a staple in my healthy eating routine: Chia Seed Pudding! This isn’t just a treat; it’s a nutritional powerhouse disguised as a creamy, satisfying dessert or breakfast. If you’re looking for something quick to prepare, wonderfully versatile, and packed with goodness, you’ve come to the right place. Chia seeds, often hailed as a superfood, transform into a pudding-like consistency when soaked in liquid, creating a delightful texture that’s both comforting and energizing.
One of the best things about chia seed pudding is its adaptability. Whether you’re a dairy enthusiast or prefer plant-based options, it caters to your needs. You can customize the sweetness and flavorings to your heart’s content, making each batch uniquely yours. This recipe serves as a fantastic base, and I’ll walk you through it step-by-step, offering a few pointers along the way to ensure your pudding turns out perfectly every time.
Ingredients:
That’s it! See? Simple. The beauty of this recipe lies in its minimal ingredients and maximum impact. Let’s break down the magic that happens with these few components.
Instructions:
Getting started with chia seed pudding is incredibly straightforward. There’s no cooking involved in the traditional sense, which makes it perfect for busy mornings or when you just want a fuss-free, healthy option. The key is allowing enough time for the chia seeds to absorb the liquid and work their thickening magic.
In a small bowl or a jar with a lid, combine your milk of choice, maple syrup (or your preferred sweetener), and vanilla extract. Give these a good whisk or stir until the sweetener is fully dissolved and the vanilla is evenly distributed. This initial mixing ensures that the flavors are incorporated throughout the pudding rather than settling at the bottom. I find that using a whisk helps break up any small clumps of sweetener, leading to a smoother final texture. If you’re using a different sweetener like honey or agave, ensure it’s liquid and well-mixed. If you opt for a granular sweetener, you might want to stir a bit longer to prevent grainy bits.
Now, it’s time to add the star of the show: the chia seeds. Sprinkle the 3 tablespoons of chia seeds into the liquid mixture. Immediately after adding the chia seeds, give the mixture a thorough stir. This step is crucial to prevent the seeds from clumping together at the bottom of the bowl. Think of it like making gravy – you need to stir to avoid lumps! Continue stirring for about 30-60 seconds, making sure to scrape the bottom and sides of the bowl to incorporate all the seeds. You’ll notice the mixture starting to thicken slightly as the seeds begin extract to absorb moisture, but the real magic happens with time.
Once everything is well combined and you’ve stirred out any potential clumps, cover the bowl or jar. You can use a lid, plastic wrap, or even a plate. Place the covered mixture in the refrigerator. This is where the patience comes in! You’ll want to let it chill for at least 2-3 hours, but for the best pudding-like consistency, I highly recommend leaving it overnight. The longer it sits, the thicker and more pudding-like it will become as the chia seeds swell and release their gelatinous coating. During the chilling process, the seeds will absorb most of the liquid, creating that signature pudding texture.
After the chilling period, give your chia seed pudding a quick stir. You might find that it has thickened considerably and developed a lovely, creamy texture. If it’s too thick for your liking, you can add a splash more milk and stir it in until you reach your desired consistency. Conversely, if you prefer a thicker pudding, you can let it sit for a little longer or even add a few more chia seeds and let it thicken further. This is the stage where you can really customize it to your preference. Don’t be afraid to experiment!
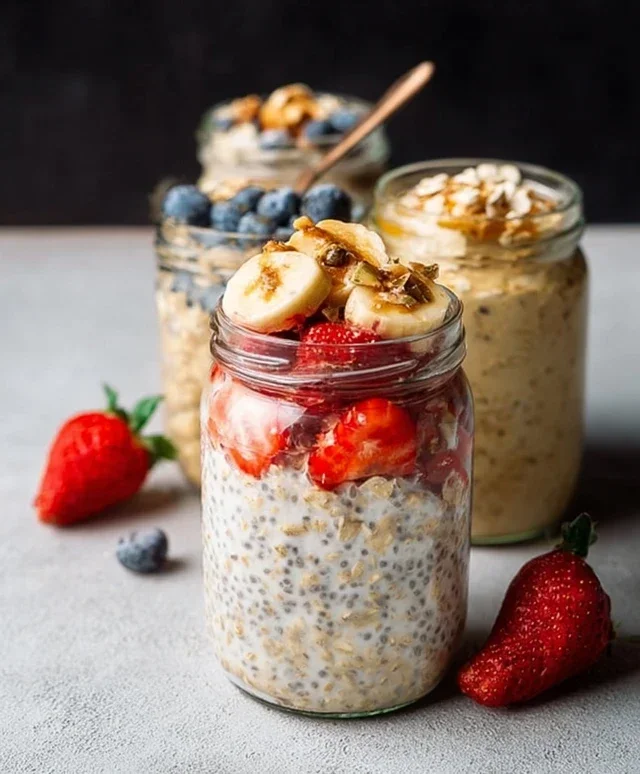
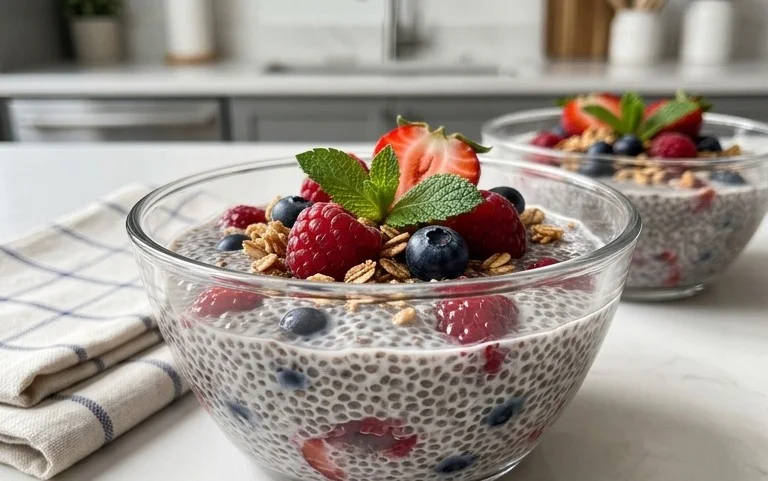
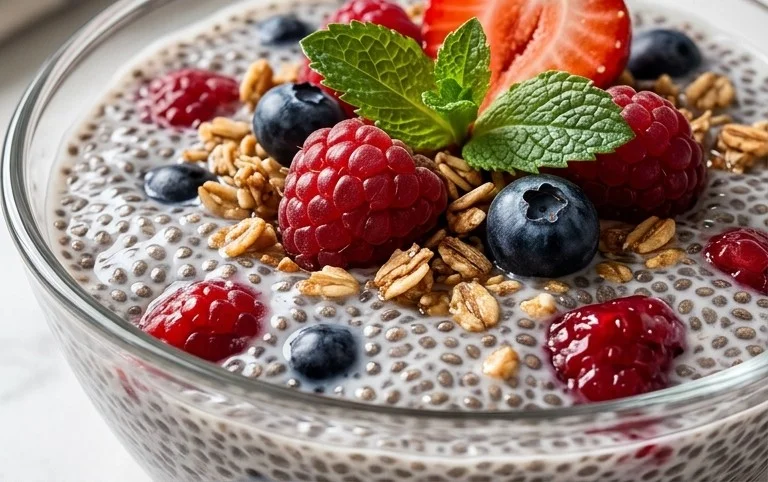
Your chia seed pudding is now ready to be enjoyed! You can serve it directly from the bowl or spoon it into smaller serving dishes. This is where the fun really begin extracts – the toppings! The possibilities are endless. Some of my favorites include fresh berries (strawberries, blueberries, raspberries), sliced bananas, a sprinkle of granola for crunch, a drizzle of nut butter (almond or peanut butter are divine!), toasted coconut flakes, or a dusting of cinnamon. For a more decadent treat, a dollop of yogurt or a few chocolate shavings can elevate it even further. The simple base of the pudding allows the toppings to truly shine and adds another layer of flavor and texture to your creation. Enjoy this wonderfully healthy and delicious treat!
This chia seed pudding recipe is a fantastic starting point for anyone looking to incorporate more wholesome ingredients into their diet without sacrificing taste or convenience. It’s a testament to how simple ingredients can come together to create something truly special. I hope you enjoy making and devouring this delightful pudding as much as I do!
Conclusion:
So there you have it! Crafting this delicious chia seed pudding is incredibly simple, making it a fantastic go-to for a healthy breakfast, a satisfying snack, or even a light dessert. Its versatility is truly its superpower. The natural thickening properties of chia seeds create a wonderfully creamy texture without any dairy or complicated steps. I hope you’re inspired to give this easy recipe a try!
Imagin extracte waking up to a ready-made, nutritious meal. That’s the magic of this chia seed pudding! Feel free to get creative with your toppings. Fresh berries, sliced banana, a sprinkle of granola for crunch, or a drizzle of honey or maple syrup are all wonderful choices. For a richer flavor, consider adding a spoonful of cocoa powder to the base mixture for a chocolatey twist, or even a pinch of cinnamon for warmth.
Don’t be afraid to experiment with different plant-based milks too – almond, oat, soy, or coconut milk all yield slightly different, yet equally delightful, results. The basic ratio is forgiving, so you can adjust the liquid to your preferred consistency. This recipe is proof that healthy eating can be both effortless and incredibly tasty. Give it a whirl, and I’m confident you’ll be hooked!
Frequently Asked Questions:
Why is my chia seed pudding not thickening?
The most common reason for chia seed pudding not thickening is not allowing it enough time to set, or not using enough chia seeds relative to the liquid. Ensure you’re using the correct ratio (typically 1:4 chia seeds to liquid) and let it chill in the refrigerator for at least 2-4 hours, or preferably overnight, for optimal thickening. Stirring it once or twice in the first hour can also help prevent clumping and encourage even gelling.
Can I make chia seed pudding without milk?
Absolutely! While milk (dairy or plant-based) is traditional and adds creaminess, you can certainly make chia seed pudding with just water or even fruit juice. Using water will result in a less creamy but still perfectly nutritious and gelled pudding. Fruit juice, like apple or orange juice, will add sweetness and a lighter, more refreshing flavor profile. You might need to adjust the amount of chia seeds slightly depending on the liquid you choose.
How long does chia seed pudding last in the refrigerator?
Prepared chia seed pudding typically lasts for about 3 to 5 days when stored in an airtight container in the refrigerator. The texture might change slightly over time, becoming a bit thicker, but it will remain safe and enjoyable to eat.
Chia Seed Pudding Recipe
A simple and healthy chia seed pudding recipe, customizable with your favorite milk and sweetener.
Ingredients
-
3 tablespoons chia seeds
-
1 tablespoon maple syrup
-
1 teaspoon vanilla extract
-
3/4 cup milk of choice
-
Pinch of salt
-
1/4 cup berries (optional topping)
Instructions
-
Step 1
In a bowl or jar, combine the chia seeds, maple syrup, vanilla extract, and salt. -
Step 2
Add the milk of your choice and stir well to ensure no clumps of chia seeds. -
Step 3
Whisk or stir the mixture vigorously for about 30 seconds to prevent the chia seeds from clumping together. -
Step 4
Let the mixture sit for 5-10 minutes, then stir again. This second stir is crucial for a smooth pudding. -
Step 5
Cover the bowl or jar and refrigerate for at least 2 hours, or preferably overnight, until the pudding has thickened. -
Step 6
Serve chilled, topped with fresh berries or other desired toppings.
Important Information
Nutrition Facts (Per Serving)
It is important to consider this information as approximate and not to use it as definitive health advice.
Allergy Information
Please check ingredients for potential allergens and consult a health professional if in doubt.