Red White and Blue Dirt Cups-Easy Patriotic Dessert
Red, White and Blue Dirt Cups are more than just a delightful dessert; they’re a nostalgic trip back to childhood fun and summer celebrations. We all have those treats that instantly bring a smile to our faces, and for many of us, the humble dirt cup holds that special place. What makes these layered delights so universally loved? It’s the perfect marriage of textures and flavors: the creamy, sweet pudding, the crunchy, chocolatey cookie “dirt,” and the pops of fresh fruit. But this isn’t just any old dirt cup; our Red, White and Blue Dirt Cups are specifically designed to be the star of your next patriotic party, cookout, or even just a fun afternoon treat. They’re incredibly easy to assemble, making them a fantastic activity for kids, and the vibrant colors are sure to impress. Get ready to dig into this patriotic masterpiece!
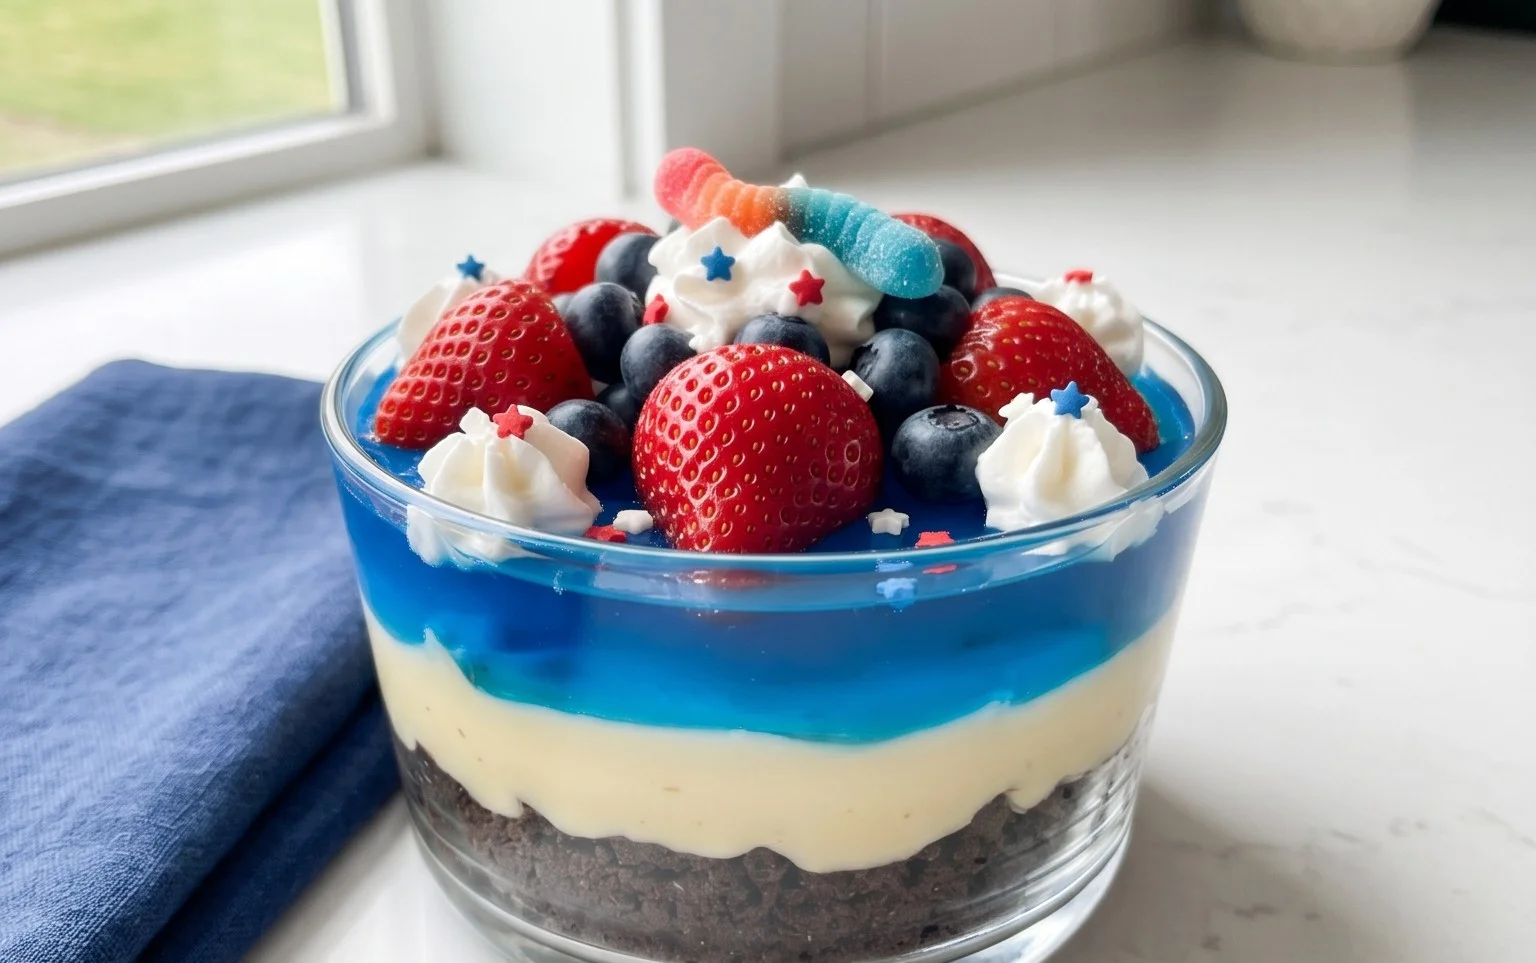
Red, White and Blue Dirt Cups
Get ready for a patriotic treat that’s as fun to make as it is to eat! These Red, White and Blue Dirt Cups are a delightful twist on the classic Oreo “dirt” dessert, perfect for any summer gathering, Fourth of July celebration, or just when you’re craving something sweet and festive. The vibrant colors and familiar flavors of creamy pudding, crushed Oreos, and gummy worms come together to create a dessert that’s sure to be a hit with kids and adults alike. We’re going to layer these colors and textures to create a visually stunning and utterly delicious treat.
Ingredients:
Getting Started: Your Red, White, and Blue Masterpiece
The beauty of these dirt cups lies in their simplicity and the fun of layering. We’re essentially creating mini edible landscapes, starting with the creamy pudding base and building up to the “dirt” and “worms.” This recipe is designed to be straightforward, so even if you’re new to baking or dessert making, you’ll find it easy to follow. Let’s gather our ingredients and get ready to assemble these patriotic delights.
Instructions:
Prepare the Pudding Base: In a large mixing bowl, combine the contents of both cheesecake pudding boxes with the 4 cups of milk. Whisk vigorously for about 2 minutes, or until the mixture is smooth and well combined. It’s important to whisk thoroughly to ensure there are no lumps of dry pudding mix left. Once you’ve achieved a smooth consistency, cover the bowl with plastic wrap, making sure the plastic wrap is touching the surface of the pudding. This will prevent a skin from forming as it chills. Place the bowl in the refrigerator for at least 5 minutes to allow it to begin extract to set. While the pudding is chilling, you can move on to preparing the “dirt” and coloring the pudding.
Create Your “Dirt”: Take your 19 Oreo cookies and place them into a resealable plastic bag. Seal the bag tightly, removing as much air as possible. Using a rolling pin, a sturdy can, or even the flat side of a meat mallet, gently crush the cookies until they resemble coarse dirt. You want some variation in the texture – not too fine like powder, but not huge chunks either. This texture is what gives our dirt cups their signature look. Set aside your crushed Oreos. This step is often a favorite for kids, so feel free to get them involved in the crushing!
Divide and Conquer the Pudding: After the pudding has chilled for at least 5 minutes and has started to thicken, it’s time to divide it for our colors. Take about one-third of the pudding mixture and place it into a separate medium-sized bowl. This portion will be our “white” layer, so no coloring is needed. Now, take another third of the pudding mixture and place it into another medium-sized bowl. To this, add ¼ teaspoon of red gel food dye. Gel food coloring is preferable to liquid as it offers a more concentrated color without adding excess moisture. Stir this mixture thoroughly until you achieve a vibrant red hue. Be sure to scrape the sides and bottom of the bowl to ensure the color is evenly distributed. Finally, take the remaining third of the pudding and place it into a third medium-sized bowl. Add ¼ teaspoon of blue gel food dye to this portion and mix until a consistent blue color is achieved.
Assemble Your Patriotic Layers: Now for the fun part – building your dirt cups! Grab your individual serving dishes. These can be clear plastic cups, small jars, or even ramekins to really show off the layers. Start by spooning a layer of the white pudding into the bottom of each dish. Don’t overfill; we need space for our other layers! Next, carefully spoon a layer of the red pudding on top of the white layer. Try to keep the layers as distinct as possible for the best visual appeal. Finally, spoon a layer of the blue pudding on top of the red layer. You’ll want to use about half of your crushed Oreos for this initial “dirt” layer, sprinkling them evenly over the blue pudding. This creates the base of our dirt landscape.
The Final Touches and Gummy Goodness: Once you’ve completed the colored pudding layers and the first layer of “dirt,” it’s time to repeat the process for a second, smaller set of layers. Spoon a bit more white pudding on top of the first dirt layer, followed by a thin layer of red, and then a thin layer of blue. This will give our cups a nice depth. Now, take the remaining crushed Oreos and sprinkle them generously over the top of the blue pudding, creating a thick layer of “dirt” that truly covers the pudding. This is where the “dirt cup” name really comes to life! To finish off your creation, take your 8 red and blue gummy worms and artfully arrange them, “crawling” out of the dirt. You can stick them partially into the crushed Oreos or let them dangle over the side of the cup for a more playful look. Chill your finished dirt cups in the refrigerator for at least 15 minutes before serving to allow the flavors to meld and the pudding to set further.
Conclusion:
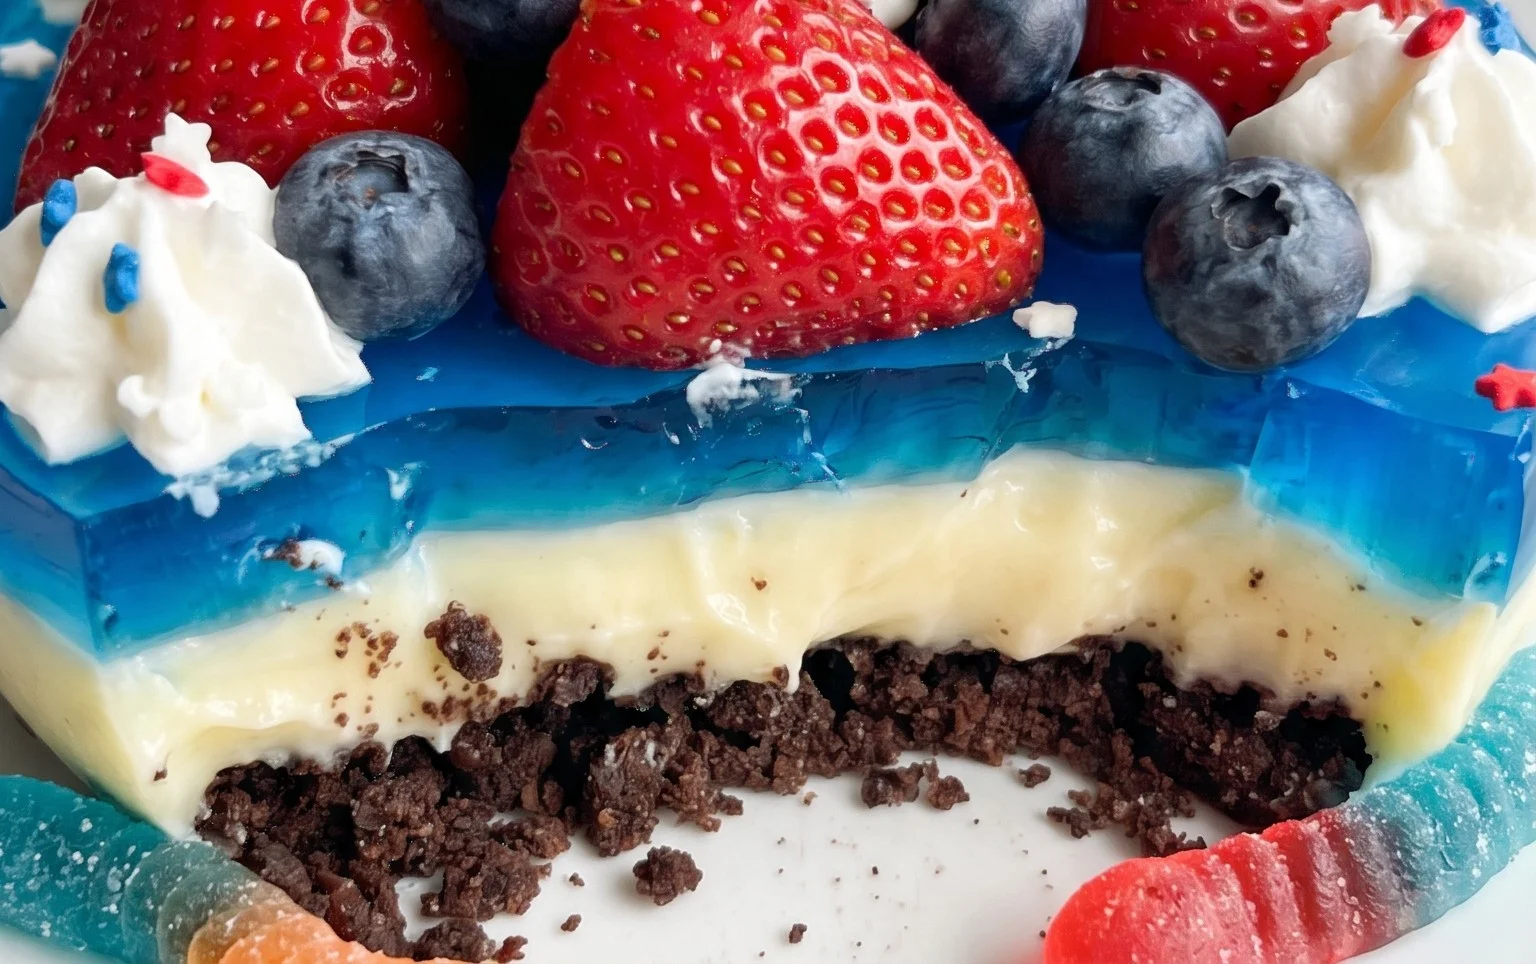
I hope you’ve enjoyed learning how to create these delightful Red, White and Blue Dirt Cups! This recipe is a winner for so many reasons. It’s incredibly easy to assemble, making it perfect for kids to help with, and the visual appeal is undeniable – a true patriotic masterpiece that’s as fun to look at as it is to eat. The combination of creamy pudding, crunchy crushed cookies, and sweet whipped topping creates a symphony of textures and flavors that everyone will love. These cups are fantastic for any summer celebration, backyard BBQ, or just a fun treat to brighten your day.
For serving, these individual cups are perfect for grab-and-go convenience. You can even present them on a tiered stand for a show-stopping dessert display. Looking for variations? Feel free to experiment with different colored puddings, add fresh berries like raspberries and blueberries for extra tang, or even sprinkle in some edible glitter for a bit of sparkle. Don’t be afraid to get creative and make these Red, White and Blue Dirt Cups your own! Give this recipe a try; I guarantee it will be a crowd-pleaser.
Frequently Asked Questions:
Q: Can I make these Red, White and Blue Dirt Cups ahead of time?
Absolutely! You can assemble these cups a few hours in advance. It’s best to add the crushed cookie “dirt” just before serving to maintain its crunchiness. Store the assembled cups, without the cookie layer, covered in the refrigerator.
Q: What kind of pudding is best for these dirt cups?
Chocolate pudding is the classic choice and creates the best “dirt” effect. However, you could experiment with vanilla pudding dyed red or blue, or even use a combination of flavors for added interest.
Q: Are there any nut-free options for this recipe?
Yes! Ensure you use nut-free chocolate sandwich cookies (like certain brands of Oreos) and check the labels on your pudding mix and whipped topping to confirm they are nut-free. This makes it a great option for school parties or those with allergies.
Red, White and Blue Dirt Cups
A festive and fun layered dessert perfect for patriotic holidays, featuring creamy cheesecake pudding, crushed Oreos, and colorful gummy worms.
Ingredients
-
2 boxes cheesecake pudding (3.4 ounces each)
-
4 cups milk
-
19 Oreo cookies (crushed)
-
1/4 teaspoon red gel food dye
-
1/4 teaspoon blue gel food dye
-
8 red and blue gummy worms
Instructions
-
Step 1
In a large bowl, whisk together the cheesecake pudding mix and milk according to package directions until smooth and thickened. Divide the pudding mixture evenly into three separate bowls. -
Step 2
In the first bowl, stir in the red gel food dye until evenly colored. In the second bowl, stir in the blue gel food dye until evenly colored. Leave the third bowl white for the cheesecake layer. -
Step 3
Spoon a layer of crushed Oreo cookies into the bottom of 8 individual serving cups or a large trifle dish. -
Step 4
Layer spoonfuls of the white cheesecake pudding over the cookie crumbs. -
Step 5
Add a layer of red pudding, followed by another layer of crushed Oreo cookies. -
Step 6
Top with a layer of blue pudding, then a final layer of crushed Oreo cookies to resemble dirt. -
Step 7
Garnish each dirt cup with red and blue gummy worms, placing them as if they are crawling out of the ‘dirt’. -
Step 8
Chill in the refrigerator for at least 15 minutes before serving to allow the flavors to meld.
Important Information
Nutrition Facts (Per Serving)
It is important to consider this information as approximate and not to use it as definitive health advice.
Allergy Information
Please check ingredients for potential allergens and consult a health professional if in doubt.